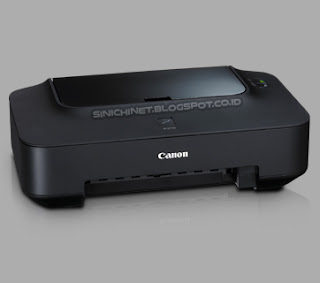
As
a Canon iP2770 printer user, you should know, at least a few things,
about how to do light maintenance when necessary. This is because, in
addition to cost savings, we can also save time than sending our printer
to a service center or call a technician.
For
example there is paper jammed on the printer, and when you pick it up
there is a scrap of paper left in the printer. So inevitably you have to
disassemble your Canon printer.
No need to be confused, just remove the top casing of the printer cover, and you can easily take the pieces of paper.

How To Remove The Canon Pixma iP2770 Printer Case Cover?
# Open the top cover. Open the top cover of the printer to locate the screws and locks.

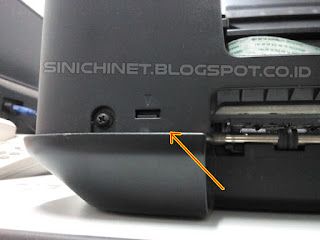
# Open screws. There are 4 screws you have to open first. 2 pieces on the front (right and left), and 2 more on the top (right and left). The screw on the top lies inside the hole beside the hinge of the paper tray lid. For more details please see in the picture below.


# Open all Locks. After removing all screws, you can proceed by unlocking 3 locks located on the body of the printer. 2 locks are on the front, and 1 lock is on the back of the printer. Use the help of a screwdriver to pry the locks.


# Lift the casing up. After all the screws and locks are released, lift the casing up to remove it. No need to force to lift it.


